Rhyno Hu
June 29, 2025
5 min
Rhyno Hu
June 29, 2025
5 min
I’ll be honest—when I first started experimenting with AI-generated storyboards, I didn’t expect to care this much about the details. But something shifts when you see your words turned into actual images. You start noticing the little things: the angle of the shot, the mood of the lighting, the vibe of a character’s face. And sometimes—more often than I’d like—those little things just feel off.
The core idea is there, but the frame’s too tight. Or the mood is too cheerful when I needed eerie. Or I love the composition but wish it looked more like a vintage film still.
At first, I thought I had to either live with it or regenerate the whole image from scratch and hope for the best. But that’s when I found VeeSpark's Camera Editor, and honestly? Game-changer.
It gave me back creative control over my storyboards—without interrupting my workflow or forcing me to use external tools. I could finally fine-tune the visuals like a director adjusting a camera on set.
If you’re a creator who cares about tone, style, or storytelling clarity, keep reading. This tool is for you.
Let’s say you’ve written a tense, dramatic moment—something that should feel gritty, raw, and grounded. You generate a storyboard in VeeSpark, and the AI delivers a decent first draft. It’s got the right characters, the blocking works, and the scene reads.
But the mood’s off.
Maybe the colors are too dreamy. Maybe the shot’s vertical, but you’re posting this on YouTube and need 16:9. Or, (and this happens more often than you’d think), there’s a random cat lurking in the background.
That’s where image-level editing makes all the difference.
VeeSpark’s Camera Editor lets you:
Adjust framing without rewriting your prompt
Match your visuals to a specific visual style or reference
Control randomness and get either polished or experimental results
Iterate quickly, without losing your momentum or flow
It’s the difference between “eh, close enough” and “yep, that’s the shot.”
Once I’ve generated my initial storyboard, I treat the Camera Editor like a digital lens—something I can use to nudge the visual language until it fully aligns with my intent.
Here’s the exact process I follow:
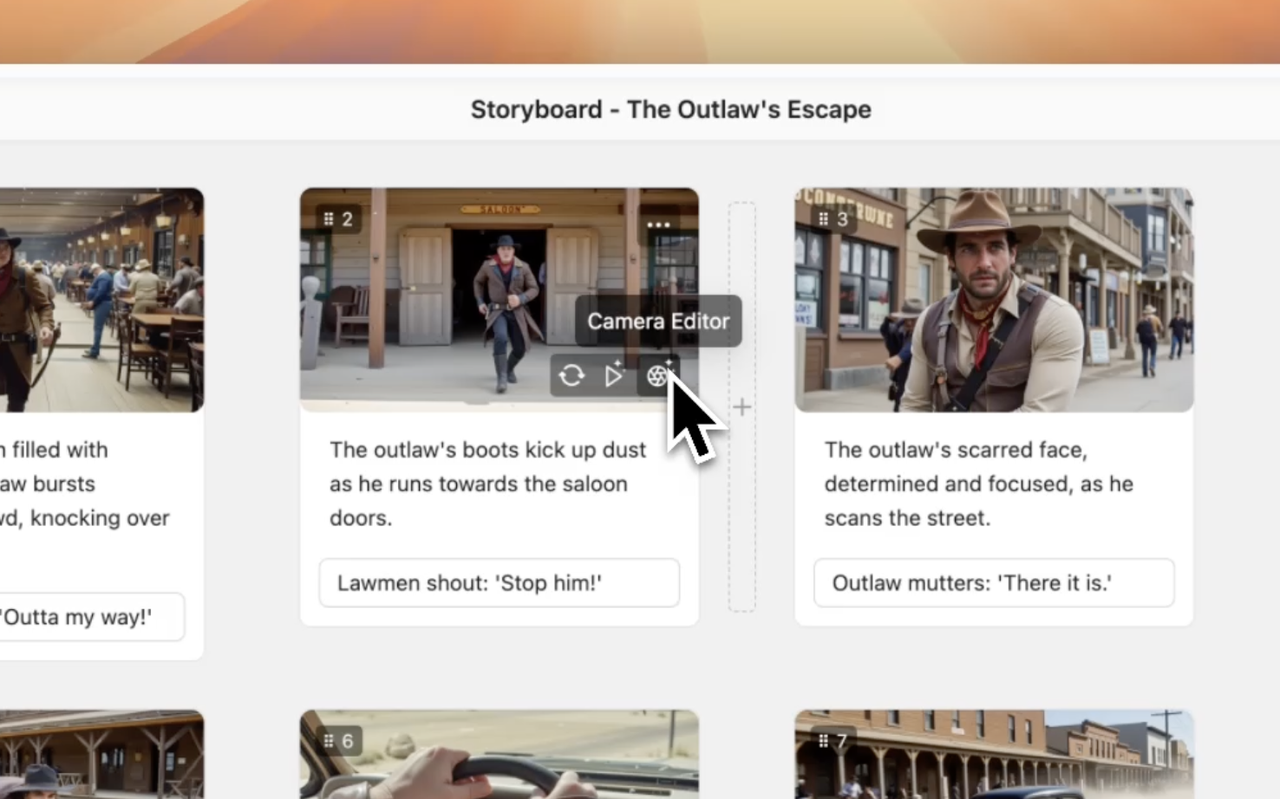
I find the image that needs tweaking, hover over it, and click the Camera icon in the bottom right corner.

Inside the editor, I can play with a few key settings:
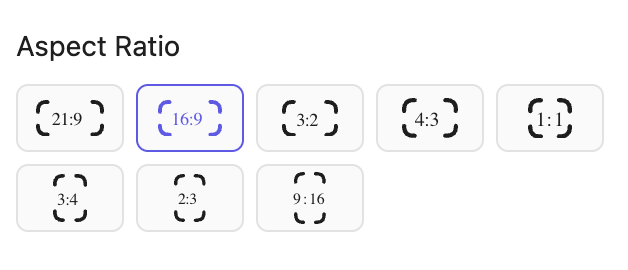
Aspect Ratio: I switch between square, widescreen, or vertical depending on my platform (YouTube? Widescreen. Instagram? Square).
Image Placeholder – Aspect Ratio menu Caption: Choose the right format for your platform.

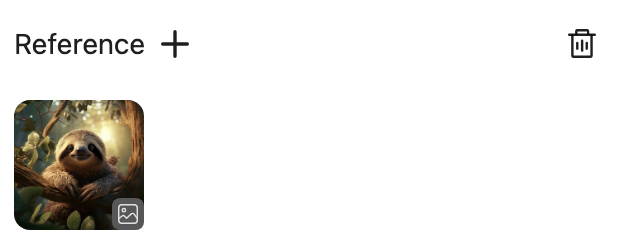
Style Reference: Sometimes I upload a movie still or branded reference to guide the overall aesthetic.
Image Placeholder – Style Reference uploader Caption: Match a specific mood or look using reference imagery.
Stylization: I adjust this slider to make the image more literal (lower) or more abstract (higher), depending on what the scene needs.
Weird: This is my favorite for dream sequences or surreal scenes. It pushes the AI toward more experimental compositions.
Chaos: I use this when I want to explore a range of different outputs. Higher chaos = more surprises. Lower chaos = more predictable variations.
GIF Placeholder – Demo of sliders being adjusted and images regeneratingCaption: Tweak your frame's style and regenerate until it feels right.
Step 3: Regenerate and Replace
Once my settings feel dialed in, I click Generate and VeeSpark serves up four new variations.
If one of them clicks, I hit Back—and that version automatically replaces the original in my storyboard. Easy.
Image Placeholder – Side-by-side comparison of original vs. updated frameCaption: Update frames instantly without starting over.

VeeSpark is built for storytellers who need speed and precision. Most AI storyboard tools stop at first-generation. You get what you get—and editing means rewriting the prompt or starting over.
VeeSpark gives you built-in control. No rerolling. No extra software. No wasted time.
Want to experiment with style? Add references.
Need to fix a frame? Adjust and regenerate.
Still want surprises? Turn up Weird or Chaos.
Other tools might offer image generation. VeeSpark offers image direction.
Here’s a quick breakdown of what makes it shine:
After a few projects using the Camera Editor, here are a few things I’ve learned:
Use style references consistently across scenes for visual cohesion
Don’t overuse stylization if you want realism—keep it low for commercial or product shots
Push the Weird slider when you’re stuck—it’s helped me unlock visuals I didn’t know I needed
Try different aspect ratios to discover new compositions
Duplicate frames before editing if you want to compare versions (VeeSpark will support this soon!)
If you want to go deeper into visual storytelling, these have been super helpful for me:
🎞 No Film School: Visual Storytelling Techniques and Tips for Filmmakers
If you’re already using VeeSpark and haven’t opened the Camera Editor yet—try it. Take one frame you feel “meh” about and give it 30 seconds of tweaks.
You’ll be surprised how much of a difference it makes to see your tone and style come through.
👉 Create Your First AI Storyboard →
👉 Already have a storyboard? Open a frame and hit “Edit Camera”
Let VeeSpark do the heavy lifting, while you stay in the director’s chair.